 Save Pin
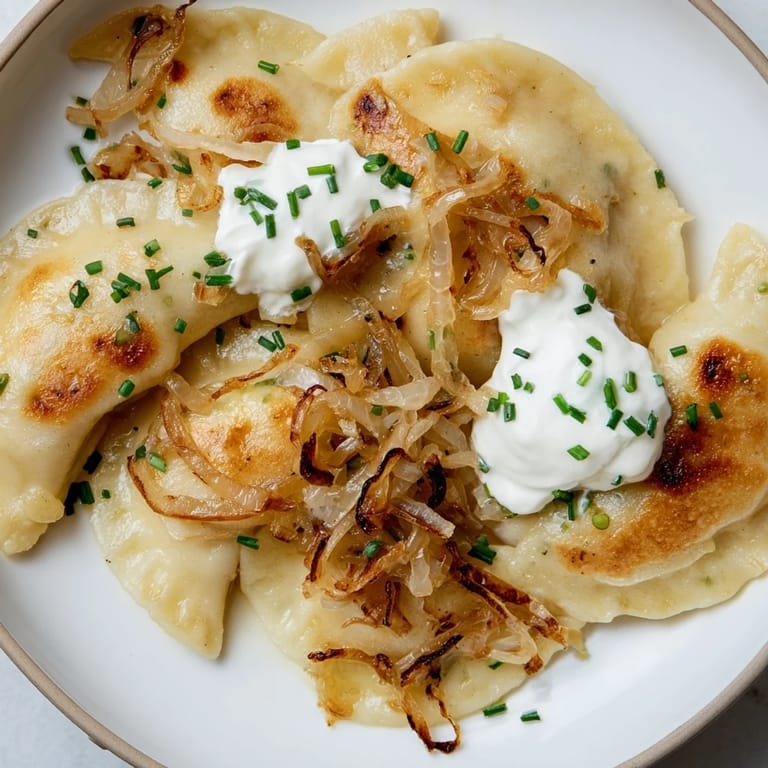
 My grandmother's kitchen in Warsaw always smelled like butter and caraway seeds, but it was the pierogi that made me understand why she'd wake up at dawn on Sundays. Years later, when I finally stood at her worn wooden counter with flour dusting my hands, I realized these weren't just dumplings—they were her way of saying she loved us. The tender potato and cheese filling, wrapped in silky dough and finished with those golden, caramelized onions, tastes like home in a way that's hard to explain to anyone who hasn't bitten into one still warm from the pan.
I remember the first time I made these for my partner, I was nervous—kneading the dough felt awkward at first, and I kept second-guessing myself. But then something clicked around minute six, and the dough went from shaggy to impossibly smooth under my hands. When we ate them that night, crispy edges gleaming with butter and onions spilling over the top, he got quiet for a moment. That's when I knew I'd done it right.
Ingredients
- All-purpose flour: This is the foundation—it needs to be strong enough to hold the filling but tender enough to eat without chewing like leather, so don't skimp on quality.
- Egg: Acts as a binder and gives the dough that slight richness that separates homemade pierogi from the rubbery ones.
- Sour cream: The secret weapon that makes the dough slightly tangy and impossibly soft.
- Russet potatoes: Their starch content is crucial—waxy potatoes will make the filling grainy and disappointing.
- Farmers cheese: If you can find it, use it; it has the perfect creamy texture, but drained ricotta works if you're in a pinch.
- Sharp cheddar: Don't use mild—the sharpness cuts through the richness and adds real flavor without being overwhelming.
- Butter: For both flavor and texture; it's what makes these special, so use real butter, not a substitute.
Tired of Takeout? 🥡
Get 10 meals you can make faster than delivery arrives. Seriously.
One email. No spam. Unsubscribe anytime.
Instructions
- Build Your Dough Base:
- Mix flour and salt in a bowl, make a well, and add your egg, melted butter, sour cream, and water. The mixture will look shaggy at first, almost like it won't come together, but trust it—once you knead it for five to seven minutes on a floured surface, it transforms into something smooth and elastic that's actually pleasant to work with.
- Rest and Be Patient:
- Cover the dough with a damp towel and let it sit for thirty minutes—this isn't busywork, it's when the gluten relaxes and the dough becomes easier to roll and less likely to tear when you're filling it.
- Cook Your Filling:
- Boil potatoes until they're genuinely tender, then drain them well and mash until smooth—any lumps will be noticeable in the filling. While they're cooling slightly, melt butter in a skillet and cook your onion slowly until it's golden and sweet, which takes longer than you think but tastes so much better.
- Mix the Magic:
- Combine your mashed potatoes with the sautéed onion, both cheeses, salt, and pepper—taste it and don't be shy about seasoning because the dough is bland and needs the filling to carry flavor. Let it cool completely before filling, or your dough will get too soft.
- Roll and Cut:
- Roll your rested dough thin—about the thickness of a dime—and use a three-inch cutter or glass to cut circles. Work quickly so the dough doesn't dry out, and keep the scraps under a towel.
- Fill with Purpose:
- Put a heaping teaspoon of filling in the center of each circle—not more, or it'll burst, not less, or you'll have a dough-heavy dumpling. Fold in half and pinch the edges with real pressure until they're sealed tight, then let them rest under a towel.
- Boil Until They Float:
- Bring salted water to a gentle boil and work in batches so you're not overcrowding the pot. When they float to the surface, give them one to two more minutes, then fish them out with a slotted spoon—they should be tender but still hold their shape.
- Caramelize Your Onions:
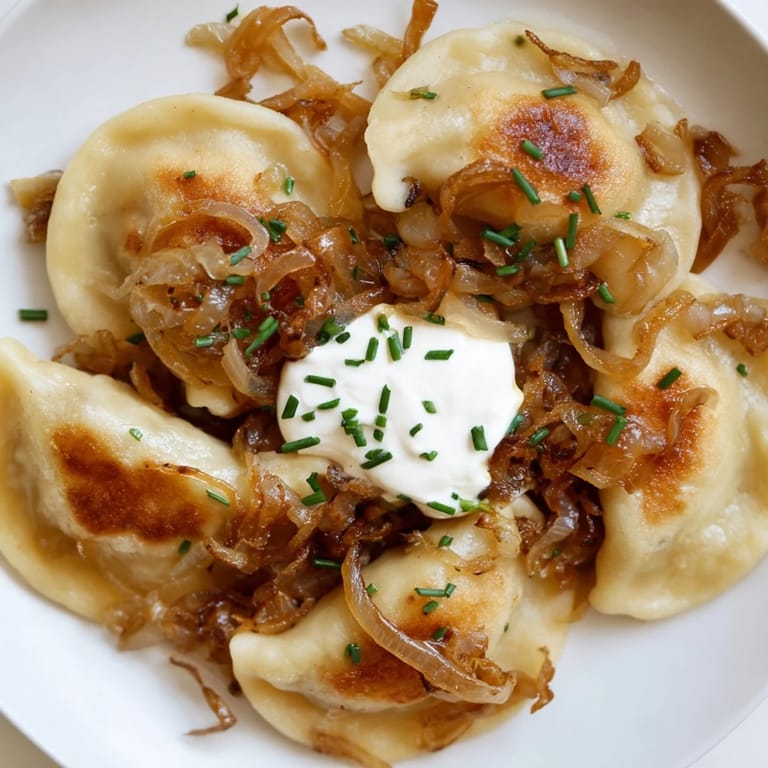
- This is where patience becomes a virtue; melt three tablespoons of butter over medium-low heat, add your sliced onions, and let them cook slowly for twenty to twenty-five minutes, stirring often. They go from pale to golden to deeply caramelized, and that's when the magic happens—they become sweet and almost jammy.
- Pan-Fry to Golden:
- In the same skillet with any remaining butter and onion bits, add your boiled pierogi in batches and fry on both sides until they're golden and crispy—this takes about three minutes per side and gives them a textural layer that boiling alone can't provide.
 Save Pin
 There's something almost meditative about pinching those edges closed, standing in your kitchen with flour in your hair and a small mountain of dumplings waiting to be cooked. It's not stressful work—it's the kind of repetitive task that lets your mind wander, and before you know it, you're lost in thought about people you love and why feeding them matters.
Why Homemade Always Wins
Store-bought pierogi have their place, but making them from scratch teaches you something fundamental about cooking: the best dishes aren't complicated, they just require presence and care. Your hands know when the dough is right, when the filling is seasoned perfectly, and when the pierogi are fried to that exact golden-brown moment. There's a feedback loop between you and the food that no factory can replicate.
Variations That Work
Once you've mastered the potato and cheese version, you'll start imagining other fillings—caramelized mushrooms with gruyère, sauerkraut with mushroom and dill, even ground meat with caramelized onions for something more substantial. The dough stays the same, so you're really just changing the conversation inside. Each variation will feel like a discovery that's somehow also ancient, like you're remembering recipes that were always meant to exist.
Storing and Freezing
Uncooked pierogi freeze beautifully on a tray for up to two months, which means you can make a batch on a quiet Sunday and have homemade dumplings ready whenever you want comfort food without the work. I've pulled them straight from the freezer and boiled them without thawing, and they cook just as well as fresh ones, maybe even better because they hold their shape.
- Freeze uncooked pierogi on a tray before bagging to prevent them from sticking together.
- You can also boil and freeze them, then just pan-fry when you're ready to eat.
- Always label your bags with the filling and date so you don't forget what's inside.
 Save Pin
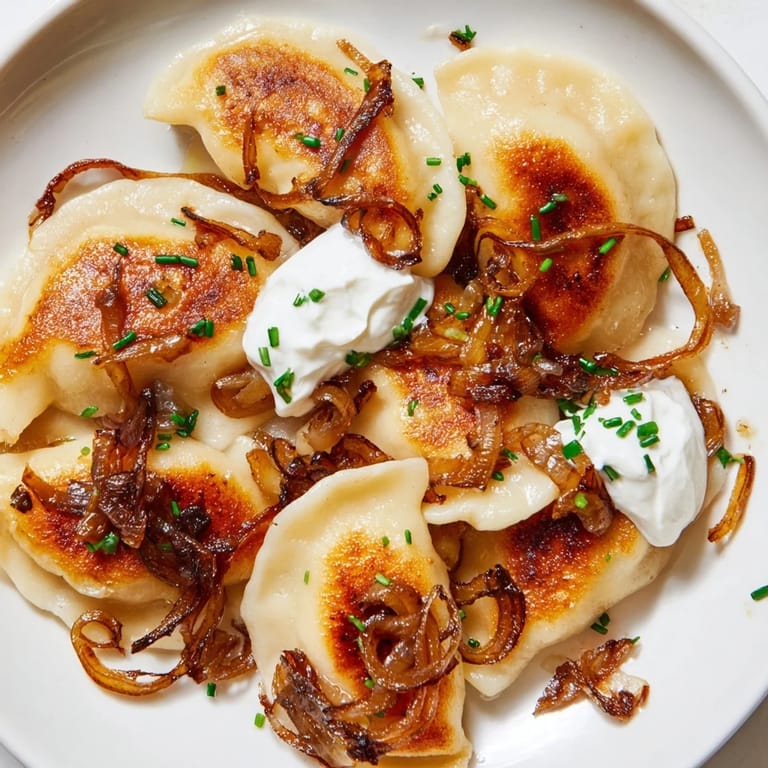
 These pierogi are more than just food—they're an invitation to slow down and make something with your hands that tastes like it took all day, even though it really didn't. Every time you eat one, you're eating something that generations have made, and that's worth the effort.
Recipe FAQs
- → What type of cheese works best for the filling?
Farmers cheese or well-drained ricotta offers a creamy texture, complemented by sharp cheddar for flavor depth.
- → How do you prevent the dough from sticking when shaping pierogi?
Knead until smooth, roll out on a floured surface, and dust the dough and cutter lightly with flour to avoid sticking.
- → Why boil pierogi before pan-frying?
Boiling cooks the dough through and causes the dumplings to float when done, ensuring a tender interior before crisping the outside.
- → Can I prepare pierogi ahead of time?
Yes, freeze uncooked pierogi arranged on a tray, then store in bags for up to two months without losing texture.
- → What is the best way to caramelize onions for topping?
Cook thinly sliced onions slowly in butter over low heat, stirring frequently for about 20-25 minutes until deeply golden and sweet.