Save Pin
 Strawberries always bring a particular brightness to the kitchen, and making a small batch of jam is my favorite way to welcome the first fruit of spring. One early morning, sunlight streaming through my kitchen window landed right on a crate of just-picked berries, their scent impossible to ignore. With coffee in hand and birdsong outside, I started simmering fruit and sugar, filling the whole room with the aroma of childhood summers. I never realized how such a simple act could turn a few ingredients into jars of happiness. The first taste, spooned straight from the pot, was all the proof I needed.
One rainy afternoon, I made this jam with my sister, both of us laughing as we tried to resist eating berries out of the bowl. The batch bubbled away as we made plans for future picnics—something about stirring strawberries together makes even grey days feel hopeful. Sharing the jars later turned into quiet little gifts for neighbors and friends, and now the scent of strawberries always takes me back to that cheerful mess.
Ingredients
- Fresh strawberries (500 g): Use the ripest, reddest berries you can find—if you spot tiny ones at the market, their flavor shines even brighter in jam.
- Granulated sugar (250 g): It sweetens and helps thicken the fruit, but don't rush—letting it sit draws out all the juicy goodness.
- Lemon juice (2 tbsp, freshly squeezed): A splash lifts the flavors and helps the jam set; I once tried skipping it and sorely missed its brightness.
- Vanilla bean (1/2, split and scraped, or 1 tsp pure vanilla extract, optional): Vanilla brings a subtle warmth, but choose the real pod if you love those little flecks in your jam.
Tired of Takeout? 🥡
Get 10 meals you can make faster than delivery arrives. Seriously.
One email. No spam. Unsubscribe anytime.
Instructions
- Mash the strawberries:
- Add your hulled berry halves to a heavy saucepan. Grab a potato masher and gently crush about half so you get both lushness and chunky bites.
- Add sugar and lemon:
- Pour in the sugar and lemon juice, stirring until glossy. Let this rest ten minutes so the sugar starts coaxing out all that vivid juice—watch as the colors deepen.
- Optional vanilla infusion:
- If using, scatter in the vanilla seeds and drop in the emptied pod. There's a moment when the vanilla scent hits the warm berries that you'll want to bottle all on its own.
- Bring to a boil:
- Set the pan over medium heat and stir often until everything is bubbling and the sugar dissolves. Skim away any foam for a clear, jewel-bright jam.
- Simmer and test for set:
- Keep stirring gently as the mixture thickens, aiming for 105°C (220°F). I always test a spoonful on a cold plate—if it wrinkles as you nudge it, rejoice, it's ready.
- Jar and seal:
- Remove the vanilla pod, rest the jam briefly, then ladle into waiting sterilized jars. Seal right away, hearing the satisfying click of lids.
- Cool and store:
- Let the jars cool on a towel, then tuck them in the fridge. They're best within a month—but I've never had a jar last that long.
 Save Pin
 The day my best friend surprised me with homemade scones, I opened a jar of this jam for us—simple toast and tea became an occasion. Later, she claimed she only visited for the jam, which is probably true, and I'm not offended in the least.
Choosing the Right Jars
I've learned that recycled jars, especially those with sturdy lids, give the loveliest rustic look and make the jam feel even more personal when you share it. Cutting out a square of floral fabric or an old tea towel for a lid cover, tied with twine, instantly upgrades your gift.
Ways to Use Strawberry Jam
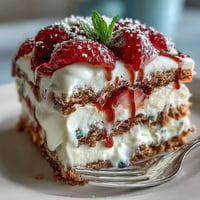
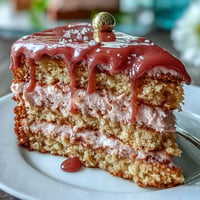
Aside from the classic toast ritual, I've dolloped this jam over yogurt, layered it in trifles, and even whisked a spoonful into vinaigrette for salads with peppery greens. Don’t overlook how a little jam can make a plain pancake or a slice of pound cake feel celebratory.
Working With What You Have
Missing a candy thermometer is not a reason to skip making jam—just use the plate test, and trust your instincts the more you practice. Adapt with a pinch of fresh herbs, swap vanilla for a dash of almond extract, or halve the recipe for just one jar if you're short on berries.
- If gifting, always double-check for tight seals.
- Chill a plate before the set test—you’ll be glad you did.
- Label your jars with the date, even if they disappear quickly!
 Save Pin
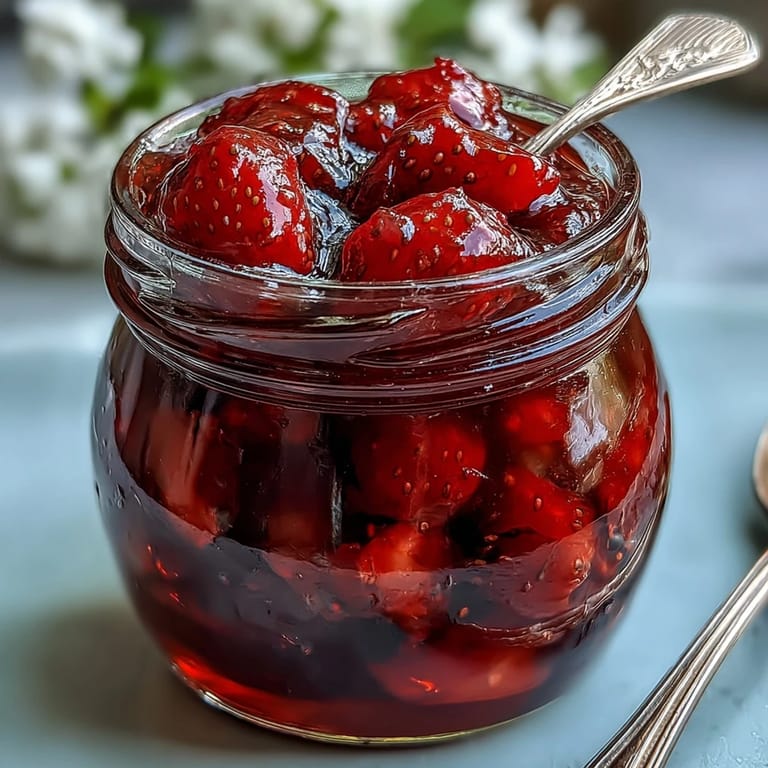
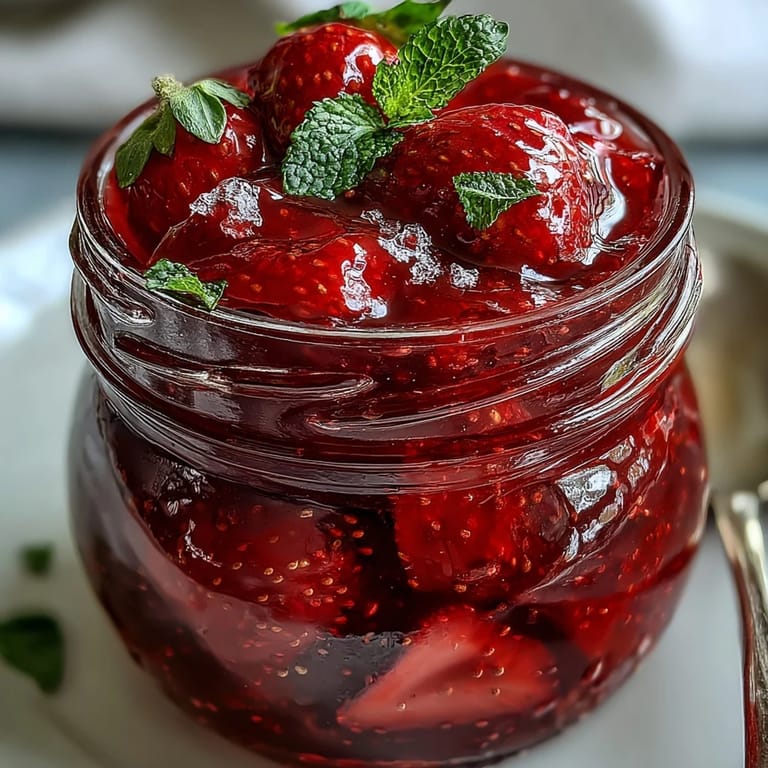
 Here’s to jars of homemade strawberry jam lined up like little jewels in your fridge—simple, joyful, and always ready to brighten breakfast or a dull day.
Recipe FAQs
- → How can I tell when the jam is ready?
Use a chilled-plate test: spoon a little onto a cold plate and push it — if it wrinkles, it's set. Alternatively, cook to about 105°C (220°F) on a candy thermometer.
- → Can I use frozen strawberries instead of fresh?
Yes. Thaw and drain excess water first, then proceed. Frozen berries may need a slightly longer simmer to reach the desired set and concentration.
- → How do I get a rustic texture with fruit pieces?
Gently crush roughly half the berries with a potato masher and leave the rest halved. Avoid over-stirring to preserve visible fruit pieces and a rustic mouthfeel.
- → What is the best way to store the jars?
Fill sterilized jars while the jam is hot, seal immediately, and let cool to room temperature. Refrigerate and use within one month, or process sealed jars in a boiling water bath for 10 minutes for longer pantry storage.
- → Can I add herbs or other flavors?
Yes. Add a sprig of thyme or basil during simmering for herbal notes, or include a split vanilla bean (remove the pod before jarring) to deepen the flavor.
- → How should I sterilize jars and lids?
Wash thoroughly and boil jars and lids for 10 minutes, or run them through a hot dishwasher cycle. Keep them hot until filling to reduce contamination risk, then seal immediately after filling.