 Save Pin
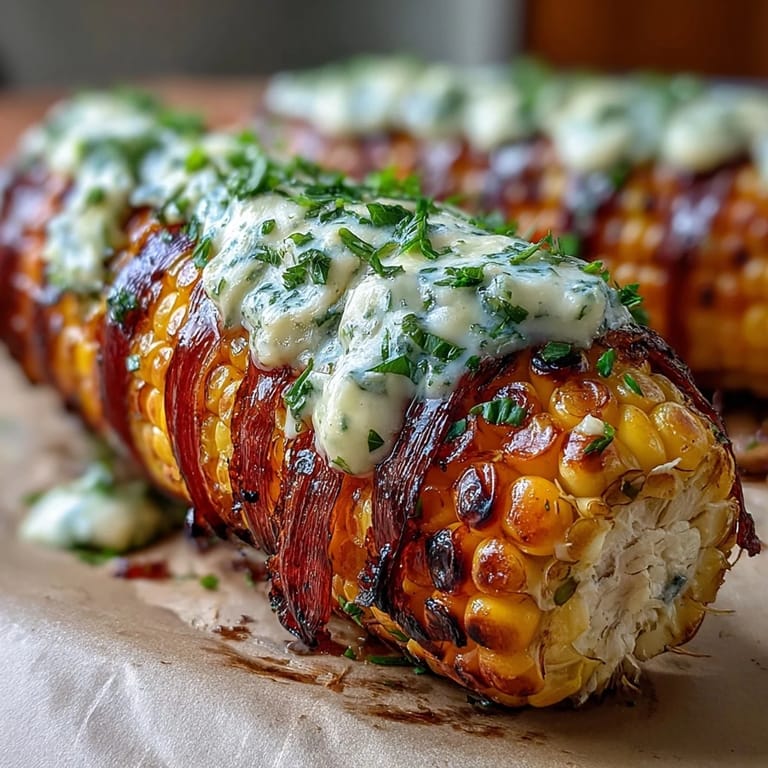
 My neighbor showed up at a summer cookout with foil packets of corn that emerged from the grill practically steaming with this incredible herb-infused aroma, and I remember thinking how something so simple could taste so completely restaurant-worthy. She unwrapped one with theatrical flair, and the butter was pooled at the bottom like liquid gold, catching the late afternoon sun. I've made it dozens of times since, and it's become my go-to move when I want to impress without spending hours in the kitchen.
Last summer, I made this for a Fourth of July gathering where someone had actually forgotten to bring a side dish, and I casually threw these together while someone else was still trying to figure out the grill situation. By the time the burgers were done, I had four perfectly golden foil packets ready to go, and honestly, people talked about the corn more than the main event. There's something about grilled corn in foil that just feels effortlessly cool.
Ingredients
- Fresh corn, husked: Four ears means four servings, and you want corn that still has a slight give when you gently press it—too hard and it's been sitting around, too soft and it's past its prime.
- Unsalted butter, softened: The softening part matters because cold butter won't spread evenly, and you want that herb mixture coating every inch of each ear.
- Fresh parsley: The grassy, mild backbone that makes the other herbs shine instead of overwhelming the corn's natural sweetness.
- Fresh chives: These add a delicate onion note that plays beautifully with the garlic without making your breath a conversation killer.
- Fresh thyme: Even a small amount brings this earthy depth that transforms butter from nice to unforgettable.
- Garlic clove, minced: One clove is enough to make people ask what you did to the butter—go smaller rather than bigger because foil amplifies everything.
- Kosher salt and black pepper: These aren't just seasoning; they're the translators that make the herbs taste like themselves.
- Parmesan cheese, optional: A light dusting at the end adds a salty, umami note that makes people reach for another ear.
- Lime wedges: The acidity cuts through the richness and makes the whole thing feel bright instead of heavy.
Tired of Takeout? 🥡
Get 10 meals you can make faster than delivery arrives. Seriously.
One email. No spam. Unsubscribe anytime.
Instructions
- Fire up the grill and prep your station:
- Get your grill to medium-high heat—about 400°F—and while it's preheating, lay out your foil sheets in a clean workspace so you're not fumbling around when things get hot. This is also when you want to husk your corn if you haven't already, running it under cool water to rinse away any silk.
- Make your herb butter with intention:
- In a small bowl, combine the softened butter with all your herbs, garlic, salt, and pepper, stirring until everything is evenly distributed and the mixture looks like smooth, fragrant paste. Taste it with a tiny bit on your finger—it should make you close your eyes a little.
- Dress each ear generously:
- Place each corn ear on a large sheet of heavy-duty foil and spread about 1½ tablespoons of herb butter over the top, working it into the crevices between the kernels so nothing gets left behind. Don't be shy here; the foil will catch any drips, and the butter steams back into the corn anyway.
- Seal with care:
- Wrap the foil tightly around each ear, folding the ends under so nothing escapes during cooking—think of it like tucking in a vegetable burrito. Press gently along the seams to make sure they're sealed.
- Grill with attention:
- Place the foil packets on the grill, cover, and let them cook for 18 to 20 minutes, turning them every few minutes so they cook evenly and develop those light char marks. You'll hear the butter sizzle slightly, and the foil will puff a bit when steam builds up inside.
- Finish with flair:
- Remove each packet carefully with tongs—they're hot—and let them rest for a minute before unwrapping so you don't get steam-burned. Top with Parmesan if you're using it and a squeeze of fresh lime juice for brightness.
 Save Pin
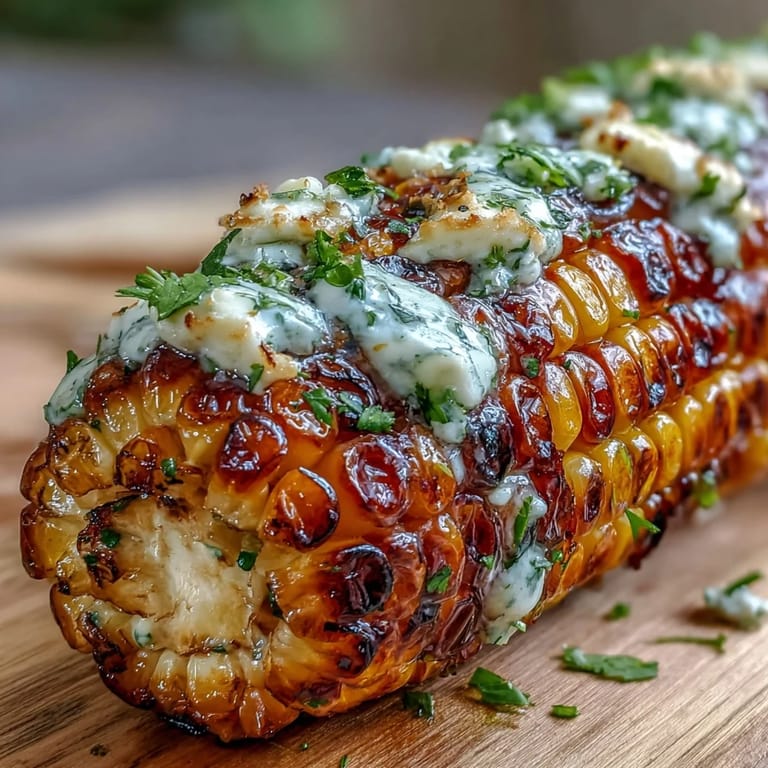
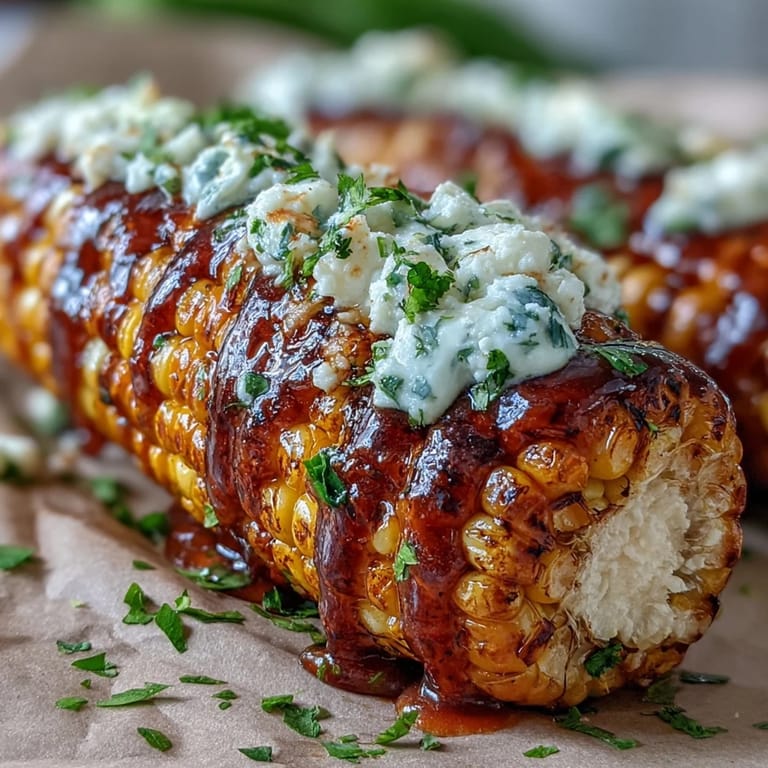
 There's this moment when you unwrap the foil and that aromatic steam hits your face—the way the herb butter has pooled and glazed every single kernel—that reminds me why I love cooking outside in the first place. It's one of those dishes that makes people slow down and actually taste their food instead of just eating it.
Timing Tips for a Smooth Cookout
You can make your herb butter up to two days ahead, which means on the day of your gathering you're just husking corn and assembling packets. If you're making this for a crowd, prep all your foil stations before guests arrive so you can throw them on the grill in batches—the whole process takes about 20 minutes once they hit the heat, so timing with other grilled items becomes easy.
Ways to Play with Flavors
The herb butter base is really forgiving, and you can adjust it based on what you have on hand or what mood you're in. Cilantro instead of parsley gives you more of a Mexican-inspired direction, especially if you swap the thyme for cumin and serve with lime. A pinch of smoked paprika makes it taste barbecue-adjacent, while a whisper of chili flakes adds heat without overwhelming.
Serving Suggestions and Storage
This works brilliantly alongside practically any grilled protein—burgers, chicken, fish, steak—and it's substantial enough to anchor a vegetarian plate if that's what you're doing. Leftovers keep in an airtight container for about three days, and you can actually reheat them gently in a 300°F oven wrapped in foil, though they're honestly just as good cold straight from the fridge if you're snacking the next day.
- Make extra herb butter and freeze it in ice cube trays for future grilling—thaw and use it on bread, vegetables, or grilled proteins anytime.
- If corn isn't in season, this method works beautifully with zucchini rounds, asparagus bundles, or even halved bell peppers.
- Set everything up assembly-line style if you're cooking for more than four people so the process stays relaxed instead of frantic.
 Save Pin
 This is the kind of side dish that elevates an ordinary cookout into something people remember, and the best part is how little effort it actually takes. Once you've made it once, it becomes your secret weapon for looking like you spent way more time in the kitchen than you actually did.
Recipe FAQs
- → What type of corn is best for grilling in foil?
Fresh, sweet ears of corn with husks removed work best as they cook evenly and absorb the herb butter flavors well.
- → How does wrapping corn in foil affect its texture?
Wrapping in foil traps steam, keeping the corn moist while allowing it to cook evenly and develop light char spots.
- → Can I modify the herb butter for different flavors?
Absolutely! Fresh herbs like basil or dill can substitute parsley and chives, and chili flakes add a spicy kick.
- → How long should the corn be grilled for optimal taste?
Grill on medium-high heat for 18-20 minutes, turning occasionally to ensure tender kernels with slight char.
- → Are there dairy-free alternatives for the herb butter?
Yes, plant-based butters can be used instead to accommodate dairy-free preferences without sacrificing flavor.